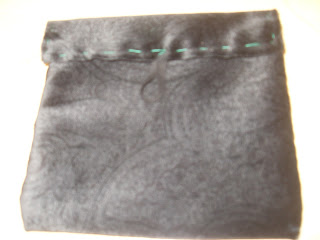
Things you will need.
Scissors
Needle
Thread in a colour to match your fabric
22 cms of 2cm wide herringbone tape
A rectangle of non stretchy fabric 35cm x 15cm (we used velvet and brushed cotton)
8cm cotton tape (narrow width)
1 button (shank buttons ore preferably but any sort will work)
Step one
Take your fabric and place it in front of you. as you can see I've over locked the edges of this fabric, which isn't essential, but I prefer as there's much less chance of fraying.
Pick an end and turn over a narrow hem. Pin and sew, a running stitch is fine for this.
 |
| Folding my seam over |
 |
| Adding pins in to hold it whilst I sew |
 | ||
| All sewn - I used a contrasting thread so I could show what I was doing. |
Fold your pouch into the shape you want at the end, with the seam end as the top of the pouch that the flap will fold over. Mark with pins the edges of middle section (the bit that will be the back of the pouch when it's done) with pins and/or tailors chalk.
 |
| Like this |
 |
| Sorry for the blurry pic... |
Step three
Fold the ends of your herringbone tape down and pin them to the the back section of your pouch. They want to be near the top (so closer to the seam end) but not completely by the top of your pin markings.
 | ||
| All pinned. |
Fold the pouch back in the finished shape, only this time fold it inside out, so the straps are on the inside.
Pin it, then stitch the sides together.
Running stitch isn't any good for this as it will leave gaps (and no-one wants a gappy pouch), so use a back stitch for this bit.
Step five
Running stitch around the edge of the flap. Then you can turn your pouch so it's the right side out.
 |
| All stitched but inside out |
 |
| Nearly done now! |
Find the middle of your pouch flap. Fold the cotton tape in half and stitch the ends to the pouch flap in the middle so you have a loop. Depending on the size of your button you may want less tape.
Step seven
Fold the flap and using your loop work out where to place your button. Now stitch it on.
Some of my 'pupils' and their finished creations!
I hope the above makes sense to you. If you have any questions please leave a comment or email!


